When it comes to render, it can be hard to know where to begin. Rendering can be tough to get to grips with since there are so many applications, types, and influencing factors. From the building type to the weather, wall rendering is a careful process that relies upon a number of things in order to be done correctly.
That being said, when broken down and well explained, wall rendering is actually relatively straightforward. Read on to learn what rendering is, how to choose the perfect render for your project, and what you need to get started.
Explanation: What is render?
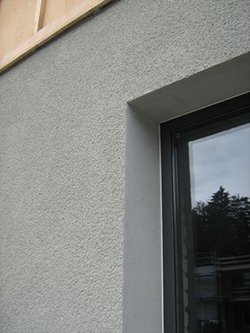
Render is the material applied to the outermost layer of a building to help strengthen the Render is the material applied to the outermost layer of a building to help strengthen the brickwork, insulate the property, and improve its aesthetics.
Most commonly made from sand and cement, render is a durable, weather-resistant material that protects the outermost masonry of buildings from the elements and helps them withstand the test of time.
Render is an extremely malleable material that can be used for both modern commercial settings homes and in residential restorations. There are many different types of render (or ‘facade render’) available to purchase based on the unique specifications of your building.

The different types of render
From silicone render to lime render, there are plenty of options when it comes to protecting your masonry.
Silicone renders like Baumit SilikonTop are ready to use, resin-based renders that can be applied with a scratched or dragged grain texture. Unlike their acrylic render counterparts, silicone, breathable renders are water-resistant. Pebbledash or mineral renders are another popular choice for homeowners. Made by combining gravel and aggregate with the usual render formula, this option is heavy duty and highly impact resistant.
The most basic type, though, is the classic cement (or lime-cement) render. From these main types, other more specific renders splinter off. For example, the self-cleaning, pollution-resistant Baumit NanoporFine.
Now that you’re familiar with its different types, you can go about choosing the right render for your facade.
Application: Wall rendering
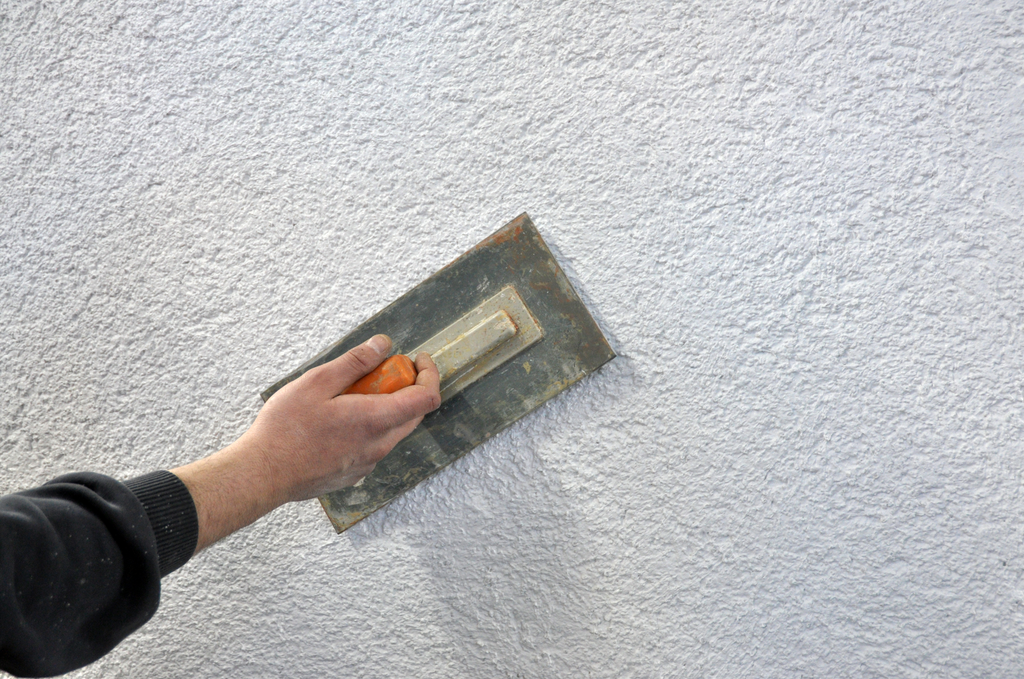
Render can be applied with a machine or by hand. If by hand, though, it follows a very similar process to plastering an internal wall. Before anything else, check that the weather is on your side. Don’t begin a rendering project in the middle of a storm but plan ahead for some mild conditions.
First, it is advisable that you clean the surface you are looking to render thoroughly. Remove any plants, debris, and mould that may be growing there. Dampen the wall slightly before you begin and apply the initial scratch coat with a steel trowel. Much like the ‘crumb coat’ on a cake, this should be a very thin layer of about 5mm.
In order for the second coat to bond, you’ll need to ‘scratch’ this layer with a comb — not right down to the wall surface but a few mm deep. Then in about half an hour, you can add the second coat at a thickness of 10mm. In order to help you achieve a level look, you may want to add battens.
Tip: work up the wall from the bottom and fill any holes that will inevitably appear.
After the render has dried for an hour or so, use a rendering float to essentially ‘close up’ the render ready to seal the air holes and help promote water resistance. To finish off, use a large sponge to gently wipe down the surface again.

Can you render in cold weather?
To put it simply, yes. It is possible to render in cold weather but it is difficult. The largest obstacle is drying time which may increase significantly in cold, humid conditions. Another challenge is freezing. If the temperature drops too much, the water in rendering products will freeze and expand making for an uneven rendered surface.
If winter rendering is unavoidable, there are a series of precautions you can take such as covering the work to leave it to dry and planning ahead with the weather.
For more information on applying render in cold weather, head over to our blog in which field engineer, James, reveals all about winter rendering.
Customisation: Choosing your render colour
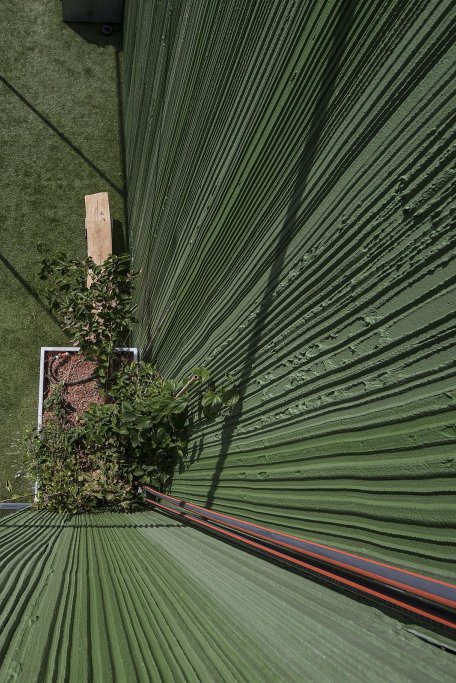
One of the best things about render is its customisability. Applying design paints on top of your facade render and experimenting with texture allows you to express your creativity.
Render colour
Using a product like Baumit CreativTop means that customising the texture and colour of your render won’t be a problem. Choose from our impressive Baumit Life paint range and you’re away. If you’re feeling extra fancy, add a transparent glitter coating or a metallic sheen to finish it off too.
Render texture & finish
Decide which texture would best complement your build. Perhaps a matte finish for a renovated build with Baumit Lasur; or a self-cleaning, weather-resistant finish for a property subject to the elements with Baumit Star.
You can view our decorative render brochures here for more inspiration.

Rejuvenation: Render crack repair
Lastly, if you are looking to refresh your current render rather than apply a new render from scratch, Baumit can help.
While our range of rendering products are designed to last, your existing render might have fallen victim to cracking or splitting. In which case, it’s time to renovate your facade.
While our solutions guide has a step-by-step approach to render crack repair, the simplified process is as follows:
1. Assess the damage
2. Clean the surface of the wall and brush away any peeling or flaky paint
3. Add primer to the holes and cracks
4. Add a brand new layer of facade paint
If you’re worried about the state of your facade render or could just use some advice, give the experts at Baumit a call.
